Building a LEGO SPIKE Prime Robot that balances on a ball
Just like Technic Hub, the SPIKE Prime Hub has a really accurate gyro sensor. What better way to show what it can do than to build a balancing robot?
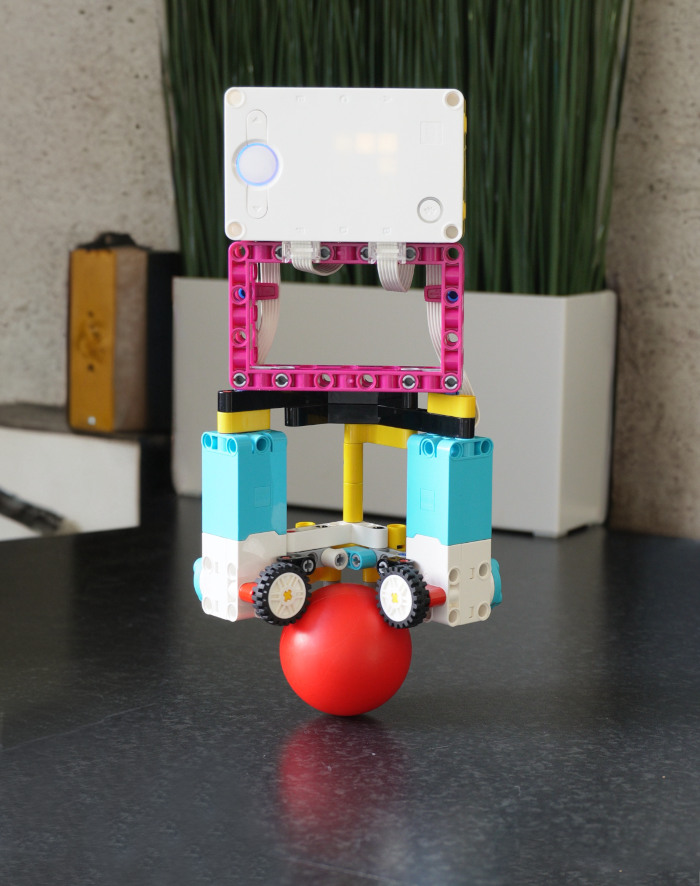
In this article, we’ll show you how you can build and program your own balancing robot using LEGO SPIKE Prime.
Building the robot
You can build it with the SPIKE Prime core and expansions sets. It doesn’t use that many pieces, so you may be able to build it from spare pieces even if you don’t have the expansion set. The ball comes in various LEGO and Duplo sets and is available on Bricklink for less than $1.
You can also build this robot with the MINDSTORMS Robot Inventor set. While the hub works the same, it comes with different building elements. Check out these instructions instead.
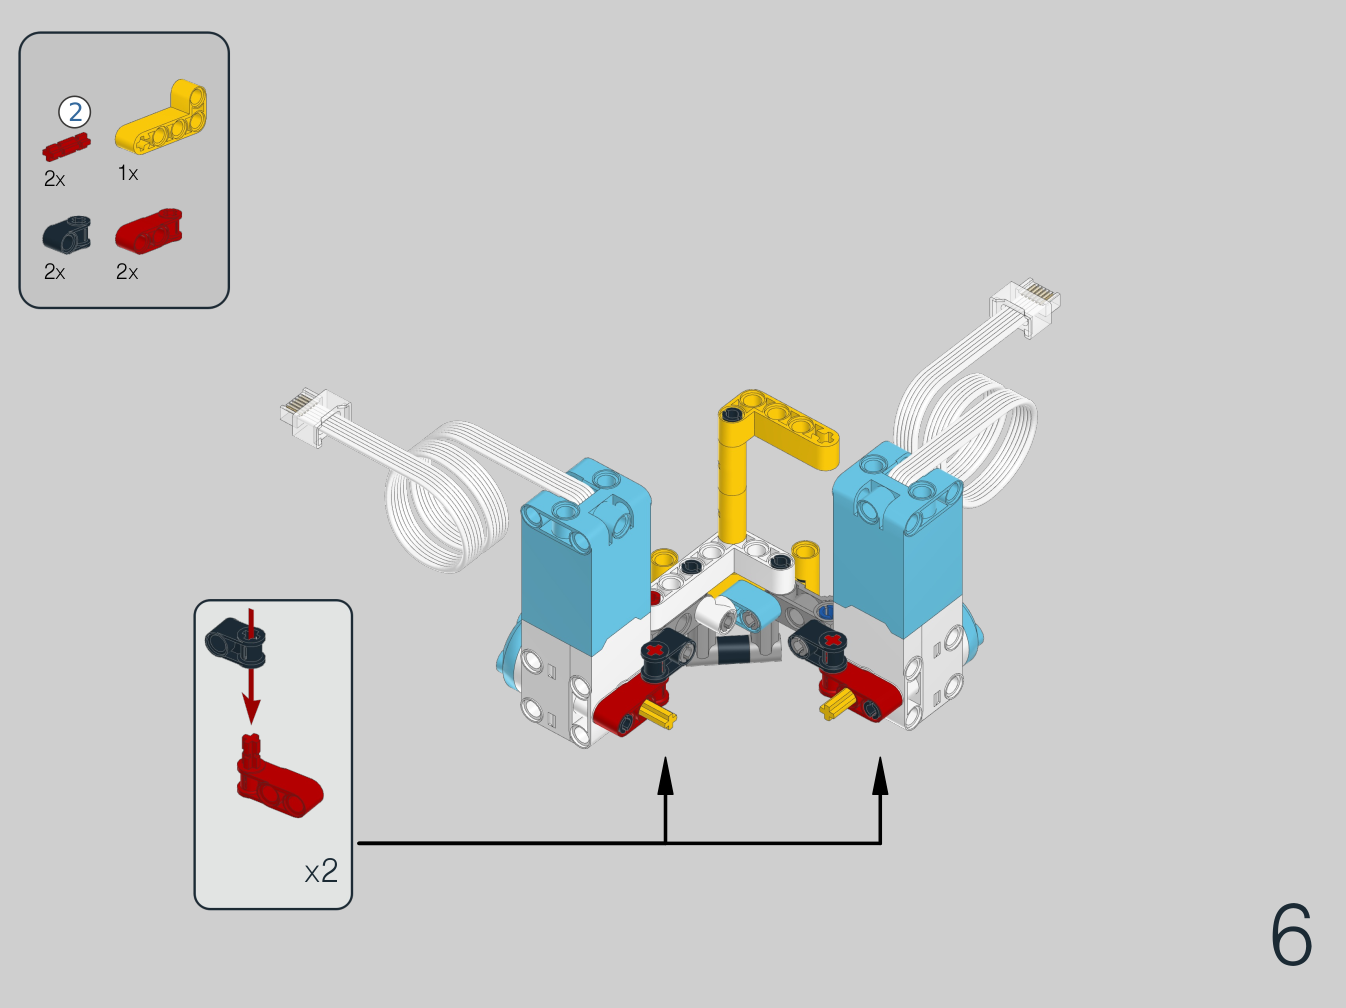
Click the image below to download the instructions. Just follow the steps and you’ll have your robot ready in no time.
The balancing program
The program below balances the robot along two axes at the same time. One motor is used to control the x axis using the gyro sensor value of the x axis. The other motor is used to control the y axis.
The feedback to each motor is a weighted sum of all the signals it needs to keep at zero. This includes the gyro angle, gyro speed, motor angle, and motor speed. The weights are tuned to make the robot stable.

When you turn the hub on, leave it on the desk or the floor for a few seconds. This gives the gyro sensor a chance to calibrate. Then put the robot on top of the ball and let it stand upright between your hands. Start the program and carefully let go.
Naturally, you can keep your hands close to prevent it from falling flat, but it is generally best to not try to help the robot forcefully. It needs to find its own path!
You can see how this works in the video below.
Running the Pybricks program
This project uses Pybricks on your LEGO hub. Pybricks makes your creations come alive and helps you unlock the full potential of your LEGO Technic, City, MINDSTORMS, BOOST, or Spike sets.
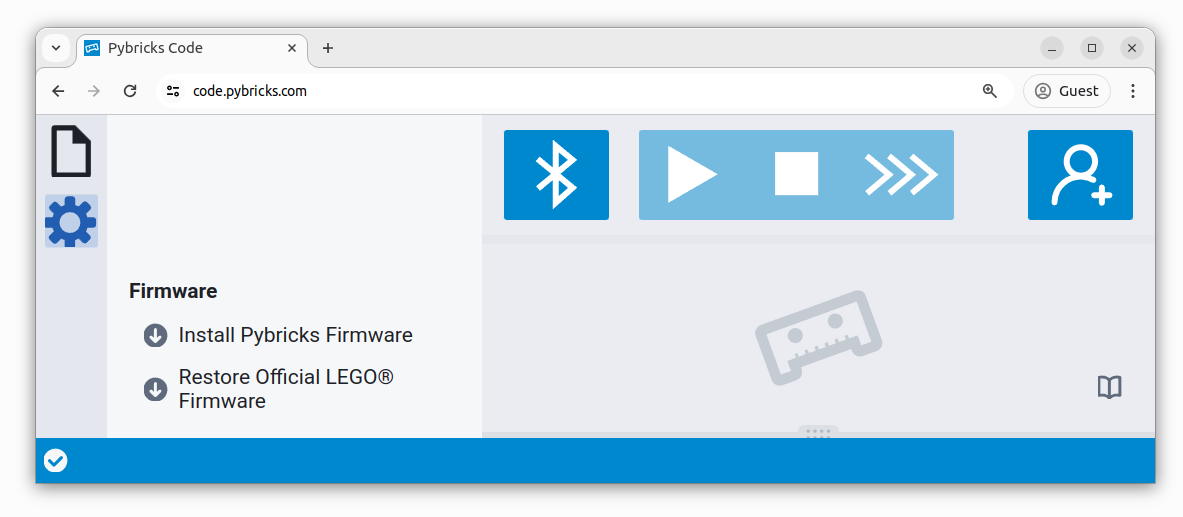
If you haven’t already, install Pybricks on your hub as shown below, or check out our getting started guide for more details. You can go back to the LEGO firmware and apps at any time.
Now import the program you downloaded earlier, as shown below. Click to connect your hub and ▶ to start!
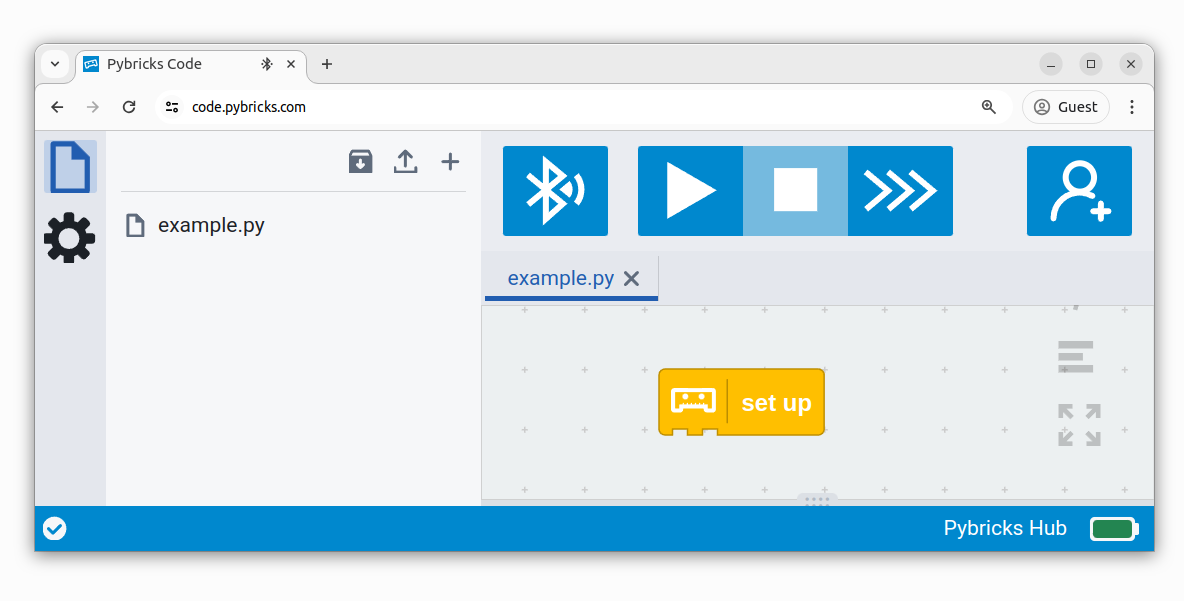
You can run imported block programs even if you’re not signed up. This is a great way to try out Pybricks and see how it works.
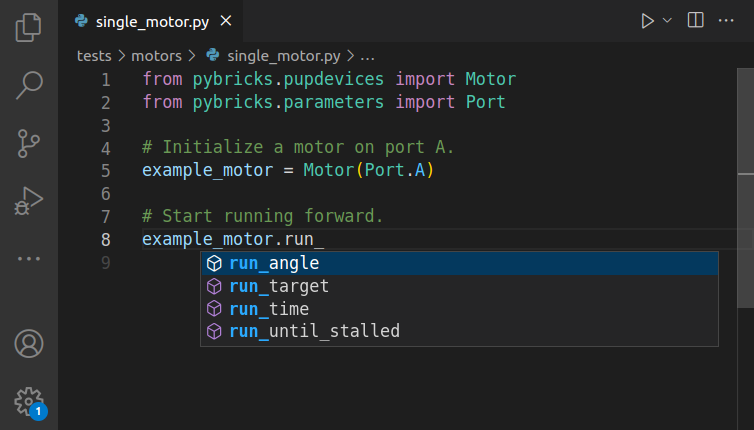
Running it as a Python program
You can also run this project as a Python (MicroPython) program. The following code was generated from the block program above. To run it, create a new empty Python program in Pybricks and copy the code into it.
from pybricks.hubs import InventorHub
from pybricks.parameters import Axis, Direction, Port
from pybricks.pupdevices import Motor
from pybricks.tools import vector, wait
from umath import copysign

# Set up.
motor_x = Motor(Port.B, Direction.COUNTERCLOCKWISE)
motor_y = Motor(Port.F, Direction.COUNTERCLOCKWISE)
hub = InventorHub(top_side=vector(1, 1, 0), front_side=vector(-1, 1, 0))
start_angle_x = hub.imu.rotation(Axis.X)
start_angle_y = hub.imu.rotation(Axis.Y)

def balance(motor, axis, start_angle, duty):
    # The feedback to the motor is a weighted sum of the gyro angle,
    # gyro angular velocity, motor angle, and motor speed.
    duty = 88 * (hub.imu.rotation(axis) - start_angle) + hub.imu.angular_velocity(axis) * 7 / 20 + motor.angle() * 18 / 25 + motor.speed(window=250) * 19 / 100
    # The feedback value is applied to the motor. We also add 10% extra
    # to account for friction. The result is scaled by the battery level so it
    # behaves the same over time.
    motor.dc(7400 * (duty + copysign(10, duty)) / hub.battery.voltage())


# The main program starts here.
# Check that the hub gyro is ready for use.
if not hub.imu.ready():
    hub.speaker.beep(500, 100)
    raise SystemExit
motor_x.reset_angle(0)
motor_y.reset_angle(0)
# Keep balancing forever.
while True:
    balance(motor_x, vector(1, 0, 0), start_angle_x, 0)
    balance(motor_y, vector(0, 1, 0), start_angle_y, 0)
    wait(10)