Driving and Steering with a DriveBase
Driving and Steering a DriveBase with the LEGO Powered Up Remote Control
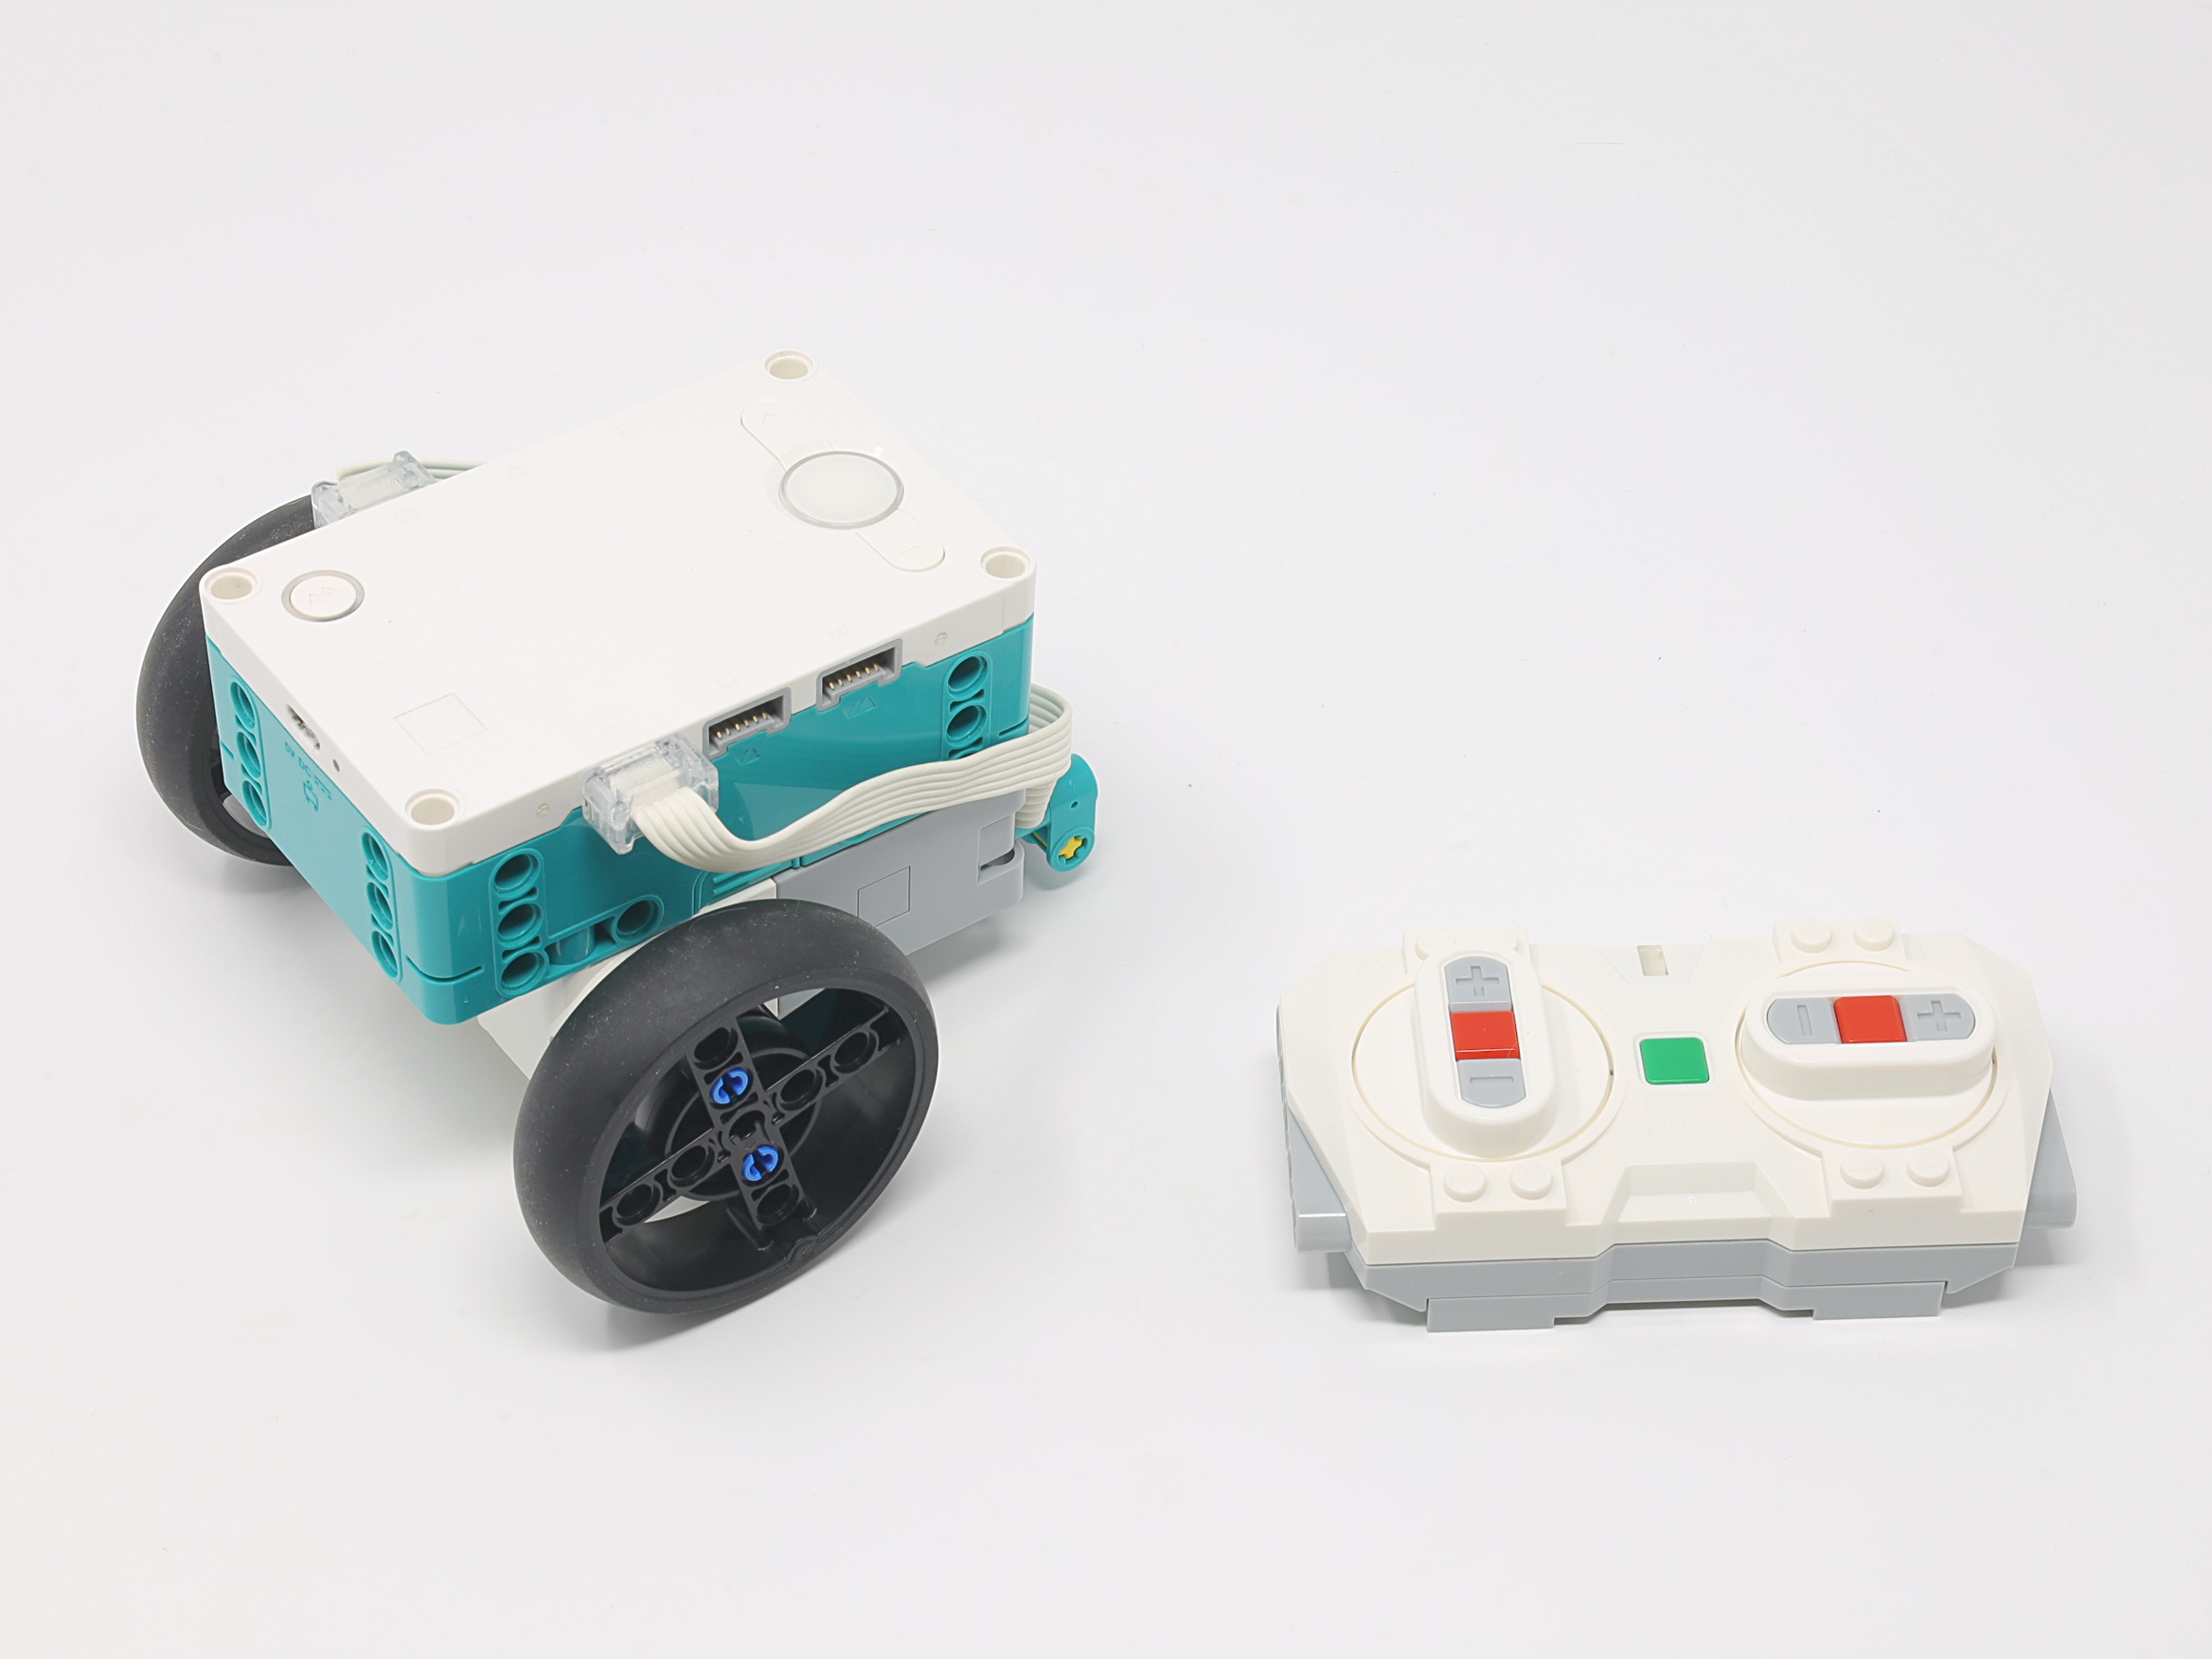
Setting up the Remote
Rotate the controls of the LEGO remote as shown in the image above. The left side controls will control the drive direction, and the right side controls will steer. You can drive and steer at the same time, or just steer to pivot the robot in place.
Making a DriveBase
A Pybricks DriveBase can be used to drive and steer a two-motor vehicle by
controlling both motors at the same time. The program in this tutorial is designed
for a simple MINDSTORMS Inventor vehicle. You can adapt the code depending on your
hub and the layout of your vehicle.
# Define objects for a simple two motor rover using a DriveBase
hub = InventorHub()
left_motor = Motor(Port.A, positive_direction=Direction.COUNTERCLOCKWISE)
right_motor = Motor(Port.B, positive_direction=Direction.CLOCKWISE)
drive_base = DriveBase(left_motor, right_motor, wheel_diameter=56, axle_track=96)
Adjusting Speed and Acceleration
These two constants control the driving and turning speeds of the robot:
# Speeds and accelerations to use
STRAIGHT_SPEED = 300    # straight driving speed (mm/sec)
TURN_RATE = 150         # turning rate (deg/sec)
A DriveBase also allows you to adjust the acceleration used for
driving and turning. To adjust these, see the DriveBase.settings()
function. The program in this tutorial uses the default accelerations.
Connecting the Remote to the Hub
This code makes the hub connect to the remote. The hub light is changed from yellow to green and the remote light set to green when the connection is successful.
# Connect to the remote
hub.light.on(Color.YELLOW)    # turn hub light yellow while trying to connect
rc = Remote()    # will stop the program if it can't connect
# Set status light on both hub and remote to green to indicate connection
hub.light.on(Color.GREEN)
rc.light.on(Color.GREEN)
If you run into trouble connecting, I have found the following sequence to be the most reliable:
- Download the Pybricks program to the hub.
- If the program is running and trying to connect (hub light yellow), press the hub button to stop it.
- Press the green center button on the remote to start it (light flashes white).
- Quickly press the hub button to run the program.
- If the connection is successful, both the remote and hub lights turn green.
The Main Program Loop
To detect button presses, your program needs to ask the remote which of the seven buttons are currently pressed, and then keep repeating this rapidly in a loop to keep scanning for updates.
# The main loop repeatedly tests the remote buttons and reacts
while True:
    # Get the set of buttons that are currently pressed,
    pressed = rc.buttons.pressed()
The while True: keeps the scanning going forever,
and the pressed variable is set to a Python tuple (a collection)
that contains the ID of each button that is currently pressed.
Updating the DriveBase
The rest of the main loop looks at the remote buttons to determine what driving and turning speeds to use and updates the DriveBase. For more information and other ideas, see the Basic Button Techniques tutorial.
Program
from pybricks.hubs import InventorHub
from pybricks.pupdevices import Motor, Remote
from pybricks.parameters import Button, Color, Direction, Port, Stop
from pybricks.robotics import DriveBase
from pybricks.tools import wait, StopWatch

# Define objects for a simple two motor rover using a DriveBase
hub = InventorHub()
left_motor = Motor(Port.A, positive_direction=Direction.COUNTERCLOCKWISE)
right_motor = Motor(Port.B, positive_direction=Direction.CLOCKWISE)
drive_base = DriveBase(left_motor, right_motor, wheel_diameter=56, axle_track=96)

# Speeds and accelerations to use
STRAIGHT_SPEED = 300    # straight driving speed (mm/sec)
TURN_RATE = 150         # turning rate (deg/sec)

# Connect to the remote
hub.light.on(Color.YELLOW)    # turn hub light yellow while trying to connect
rc = Remote()    # will stop the program if it can't connect
# Set status light on both hub and remote to green to indicate connection
hub.light.on(Color.GREEN)
rc.light.on(Color.GREEN)

# The main loop repeatedly tests the remote buttons and reacts
while True:
    # Get the set of buttons that are currently pressed,
    pressed = rc.buttons.pressed()

    # Determine what straight driving speed to use
    if (Button.LEFT_PLUS in pressed):
        speed = STRAIGHT_SPEED
    elif (Button.LEFT_MINUS in pressed):
        speed = -STRAIGHT_SPEED
    else:
        speed = 0

    # Determine what turn rate to use
    if (Button.RIGHT_PLUS in pressed):
        turn_rate = TURN_RATE
    elif (Button.RIGHT_MINUS in pressed):
        turn_rate = -TURN_RATE
    else:
        turn_rate = 0

    # Update the driving and turning speeds
    drive_base.drive(speed, turn_rate)
This project was submitted by Dave Parker.