Basic Button Techniques
Basic button-sensing techniques for the LEGO Powered Up Remote Control
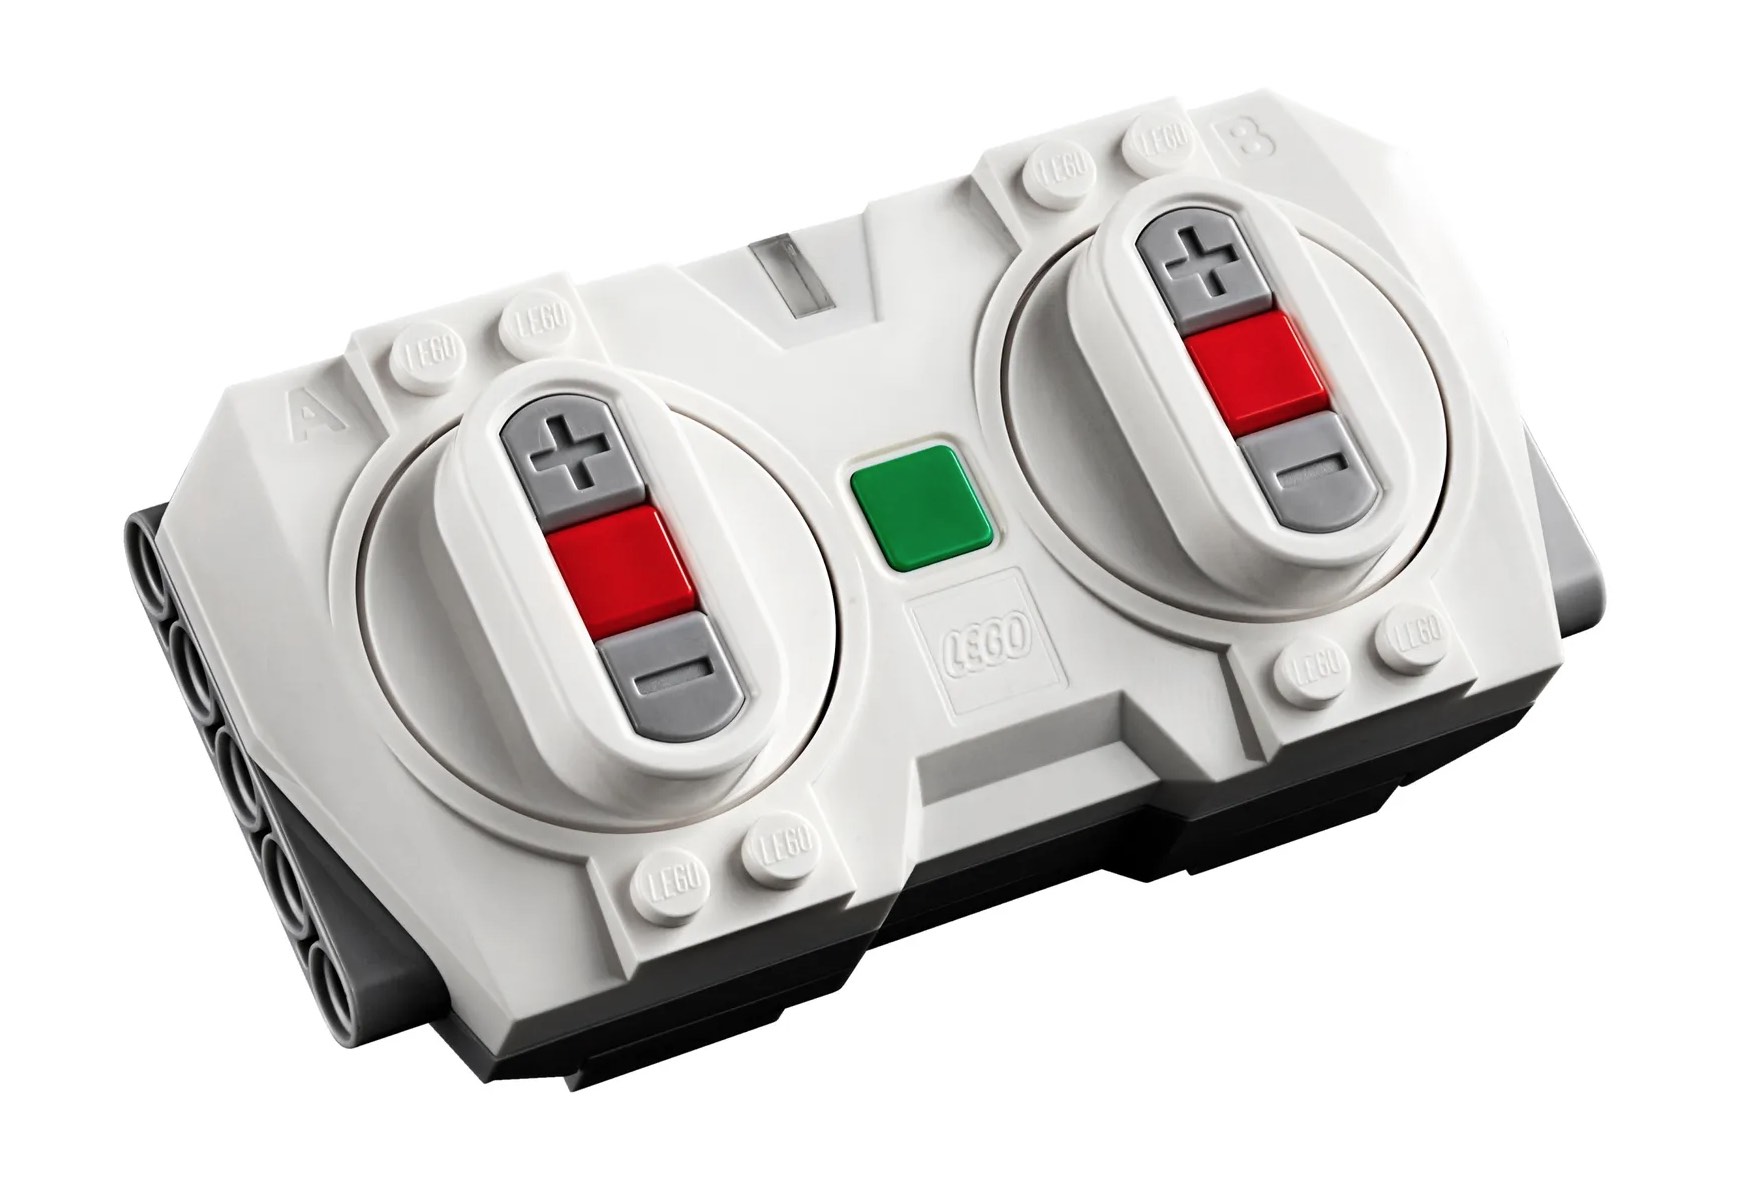
The LEGO Powered Up Remote Control
At first glance, the LEGO Powered Up Remote Control looks like just a way to control two Powered Up motors from the Technic hub, but Pybricks allows you to do much more. By writing your own control program, you can access any combination of presses from all seven buttons on the remote, from any of the hub types that can connect to it via Bluetooth.
This flexibility allows you to control more than two motors, and also program your own actions that use any combination of motors and sensors. Because of this flexibility, the details of the button press/release logic and all of your desired actions must be explicitly programmed in Pybricks, so this tutorial will help you learn how to program four basic button-sensing techniques.
For a complete example of an advanced remote control program using these techniques and more, see the Remote-controlled Mini Loader sample for the MINDSTORMS Robot Inventor hub in the Pybricks sample projects.
Adapting the Program to your Hub
Refer to the complete tutorial program below to see how the techniques in this
tutorial fit into a complete program. As-is, the program is written for the Technic
hub, but you can easily adapt it to another hub type by just changing the two
references to TechnicHub in the code.
Connecting the Remote to the Hub
Pybricks makes it easy for your program to establish a Bluetooth connection
to the remote by simply calling the Remote() function and storing the
result in a variable:
rc = Remote() # will stop the program if it can't connect
The tutorial program changes the color of the hub and remote status lights to help you see if the connection was successful. When running the program, interference from other Bluetooth devices or other issues may complicate the connection. On the Technic hub in particlar, I have found the following sequence to be the most reliable:
- Download the Pybricks program to the hub.
- If the program is running and trying to connect (hub light yellow), press the hub button to stop it.
- Press the green center button on the remote to start it (light flashes white).
- Quickly press the hub button to run the program.
- If the connection is successful, both the remote and hub lights turn green.
The Main Program Loop
To detect button presses, your program needs to ask the remote which of the seven buttons are currently pressed, and then keep repeating this rapidly in a loop to keep scanning for updates.
# Get the set of buttons on the remote that start out pressed
pressed = rc.buttons.pressed()

# The main loop repeatedly tests the remote buttons and reacts (forever)
while True:
    # Update the set of buttons that are currently pressed,
    # and also remember which ones were pressed the last time we checked.
    was_pressed = pressed
    pressed = rc.buttons.pressed()
This code uses a while True: loop to keep scanning forever,
and the pressed variable is set to a Python tuple (a collection)
that contains the ID of each button that is currently pressed.
In addition, the was_pressed variable keeps track of which buttons
were pressed the previous time through the loop, which is used for
technique #2 below.
Four Example Techniques
1. Press and hold to run a motor
    # 1. Press and hold Left Plus to spin the left motor
    if Button.LEFT_PLUS in pressed:
        left_motor.run(speed)
    else:
        left_motor.stop()
Example #1 tests if a button is pressed, by using in to test for
the button ID in the pressed collection, and runs the left motor as long
as the button is held down.
Note that because the main loop repeats rapidly, the motor will be told to
run over and over again as the button is held down (even a brief press will
result in many calls to run), but this is fine given the way the run
function works.
Because the run function will keep the motor running until something
stops it, the program needs to explicitly stop it by calling stop once
the button is no longer pressed.
2. Press to do a measured action once
    # 2. Tap Left Minus to turn the left motor exactly 720 degrees backwards
    if Button.LEFT_MINUS in pressed and Button.LEFT_MINUS not in was_pressed:
        left_motor.run_angle(speed, -720)
Example #2 wants to detect a button press and do a measured movement exactly once, regardless of how long the button is held down. This is done by testing to see if the button is pressed right now, but was not pressed the previous time we looked. Without the second part of this test, the action would still work, but it would also keep repeating as long as the button was held down.
3. Choose from multiple buttons to control a motor
    # 3. Press and hold Right Plus to spin the right motor forward,
    # or Right Minus to spin it backward, or neither to stop it.
    if Button.RIGHT_PLUS in pressed:
        right_motor.run(speed)
    elif Button.RIGHT_MINUS in pressed:
        right_motor.run(-speed)
    else:
        right_motor.stop()
Example #3 is similar to #1 but extends it to test for two different buttons
to run the motor in different directions. Note that if you tried to do this
by just using example #1 twice in a row for different buttons, the stop
for one would interfere with the run for the other, so it wouldn’t work.
4. Press two buttons at the same time for a different action
    # 4. Press and hold Right Center to reduce the motor speed while doing 1-3
    if Button.RIGHT in pressed:
        speed = MAX_SPEED / 4
    else:
        speed = MAX_SPEED
Technique #4 shows one way to take advantage of the ability to sense more than one button button being pressed at a time. Using a variable, it modifies the speed used by the other examples (1-3).
You can also detect a two-button (or multi-button) combination by testing
two buttons with and and doing whatever you want in response, but just
keep in mind when designing your actions that one button will almost always
go down a little before the other one, so if your program also responds to single
button presses of those buttons, then you will get a little of the single
action before the combination action.
Program
from pybricks.hubs import TechnicHub    # change hub type as necessary
from pybricks.pupdevices import Motor, Remote
from pybricks.parameters import Button, Color, Port

# Define the hub object.
# For other hub types, change TechnicHub here and on the line 1 import
hub = TechnicHub()

# This tutorial uses two motors on ports A and B
left_motor = Motor(Port.A)
right_motor = Motor(Port.B)

# Define the max and current motor speed to use
MAX_SPEED = 720       # deg/sec
speed = MAX_SPEED

# Try to connect to the remote
hub.light.on(Color.YELLOW)    # turn hub light yellow while trying to connect
rc = Remote()    # will stop the program if it can't connect
# Set status light on both hub and remote to green to indicate connection
hub.light.on(Color.GREEN)
rc.light.on(Color.GREEN)

# Get the set of buttons on the remote that start out pressed
pressed = rc.buttons.pressed()

# The main loop repeatedly tests the remote buttons and reacts (forever)
while True:
    # Update the set of buttons that are currently pressed,
    # and also remember which ones were pressed the last time we checked.
    was_pressed = pressed
    pressed = rc.buttons.pressed()

    # 1. Press and hold Left Plus to spin the left motor
    if Button.LEFT_PLUS in pressed:
        left_motor.run(speed)
    else:
        left_motor.stop()

    # 2. Tap Left Minus to turn the left motor exactly 720 degrees backwards
    if Button.LEFT_MINUS in pressed and Button.LEFT_MINUS not in was_pressed:
        left_motor.run_angle(speed, -720)

    # 3. Press and hold Right Plus to spin the right motor forward,
    # or Right Minus to spin it backward, or neither to stop it.
    if Button.RIGHT_PLUS in pressed:
        right_motor.run(speed)
    elif Button.RIGHT_MINUS in pressed:
        right_motor.run(-speed)
    else:
        right_motor.stop()

    # 4. Press and hold Right Center to reduce the motor speed while doing 1-3
    if Button.RIGHT in pressed:
        speed = MAX_SPEED / 4
    else:
        speed = MAX_SPEED
Other Ideas
Although the remote only has seven buttons, you are not limited to actions that fit in seven buttons. See the Remote-controlled Mini Loader sample project for MINDSTORMS Robot Inventor for a way to make a multi-mode remote that can change modes with the green center button and use the other six buttons differently in each mode.
Other button-sensing techniques are possible by using the Pybricks
StopWatch() feature to time button presses. By carefully timing presses
and releases, you can distinguish a short press from a long press, double-clicks,
and other ideas.
This project was submitted by Dave Parker.