Precision building with Auto Builder
Python code and building instructions for the LEGO BOOST Creative Toolbox (17101).
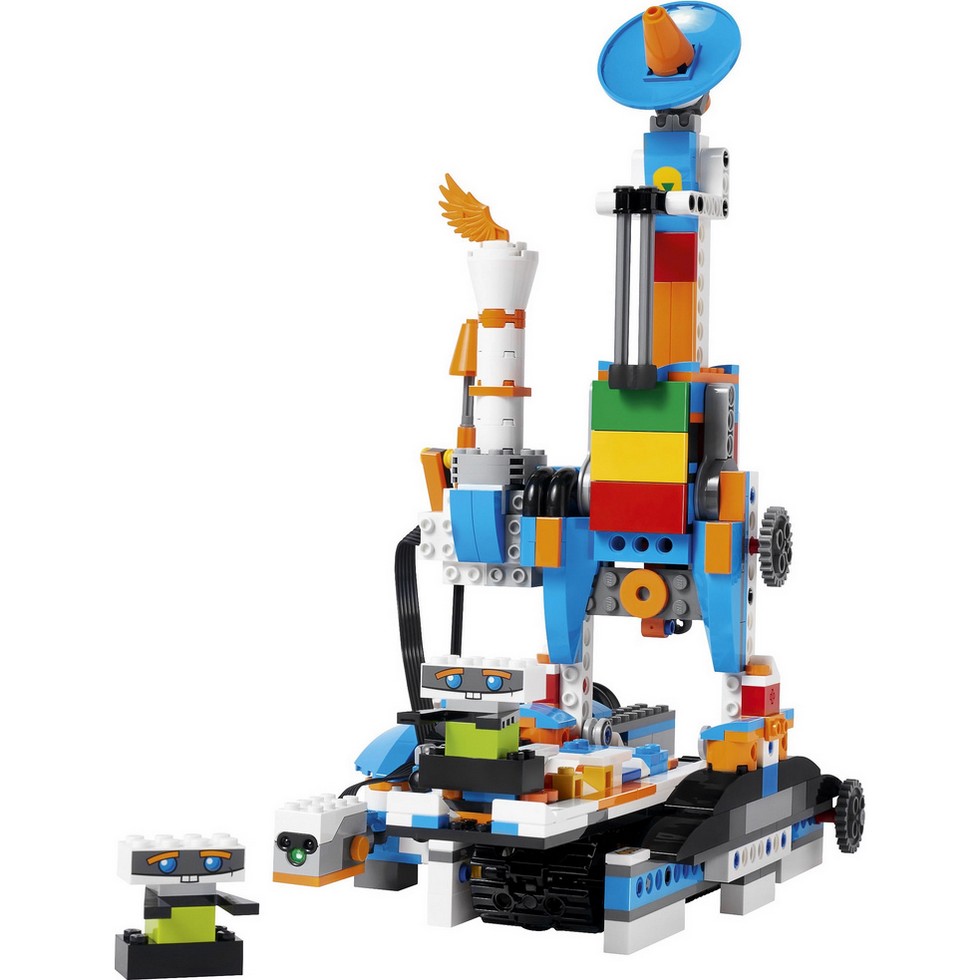
The Auto Builder builds LEGO figures autonomously. These Python scripts make it work smoothly and accurately.
Coding instructions
This program resets the motors to known positions, and then constructs the LEGO figure brick-by-brick.
This works by repeatedly:
- moving the belt motor to the given brick;
- picking the brick up by moving the arm down and up;
- moving the belt back to the base position;
- putting the brick down.
The brick positions are given as the degrees the belt motor turns relative to the base position. You can tweak these values by a few degrees if needed.
from pybricks.hubs import MoveHub
from pybricks.pupdevices import Motor
from pybricks.parameters import Port, Stop, Color
from pybricks.tools import wait

# Initialize the arm motor
arm = Motor(Port.D)
arm.run_until_stalled(-100, duty_limit=30)
arm.reset_angle(0)

# Initialize the belt motor
belt = Motor(Port.B)
belt.run_until_stalled(-100, duty_limit=30)
belt.reset_angle(0)

# Component positions
FEET = 0
BELLY = 365
HEAD = 128
ARMS = 244
NECK = 521
BASE = 697

# Place all the elements
for element in (FEET, BELLY, ARMS, NECK, HEAD):

    # Go to the element
    belt.run_target(speed=200, target_angle=element)

    # Grab the element
    arm.run_time(speed=300, time=2000)

    # Lift the element by going back to nearly zero
    arm.run_target(speed=300, target_angle=55)

    # Go to the base
    belt.run_target(speed=200, target_angle=BASE)
    wait(500)

    # Put the element down
    arm.run_time(speed=300, time=2000)

    # Lift the arm back up
    arm.run_target(speed=300, target_angle=0)

# When we are done, eject the result
belt.run_target(speed=200, target_angle=FEET)
Further exploration
The provided program is very basic, demonstrating only the core principles. Here’s a few ideas and challenges for further exploration:
- Change the order of the bricks in the
for-loop to build something else. - Instead of pushing the element down for two seconds, you could stop sooner. Try experimenting with the run_until_stalled method. This can speed up the build process.
- Speaking of increasing speed, how fast can you make it? Optimize this robot and set a new world record!
This project was submitted by The Pybricks Team.