Driving the LEGO® Technic Audi RS Q e-tron (42160) with the Powered Up Remote
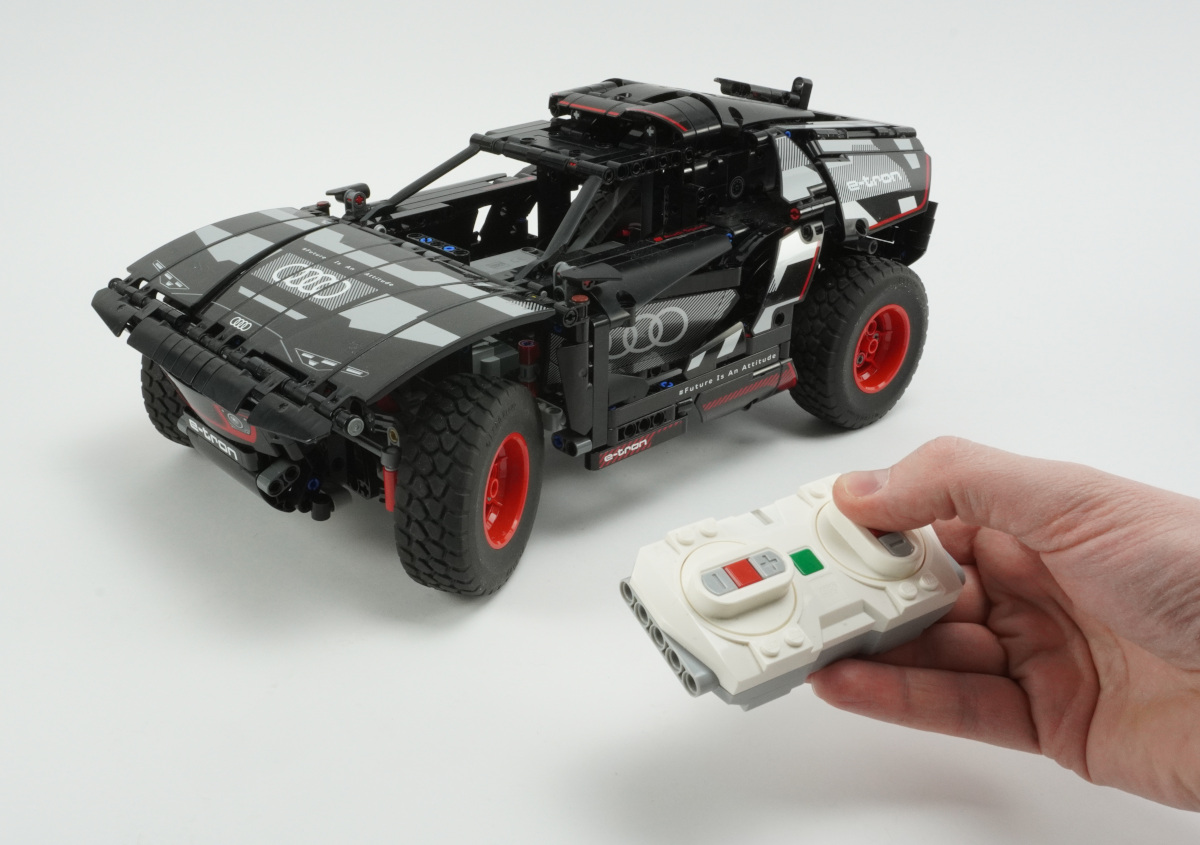
In this project, we will show you how to control the LEGO® Technic Audi RS Q e-tron (42160) with the Powered Up (Train) Remote.
This is a fun way to drive the car around without having to look at your phone screen all time time. You can also use this setup to create your own remote-controlled cars with Pybricks.
Requirements
To follow this project, you will need the following:
Understanding the code
This Technic car has one steering motor on Port D. It has drive motors on Ports A and B. Both have to run clockwise to move the car forward. The program starts by setting up these motors accordingly.
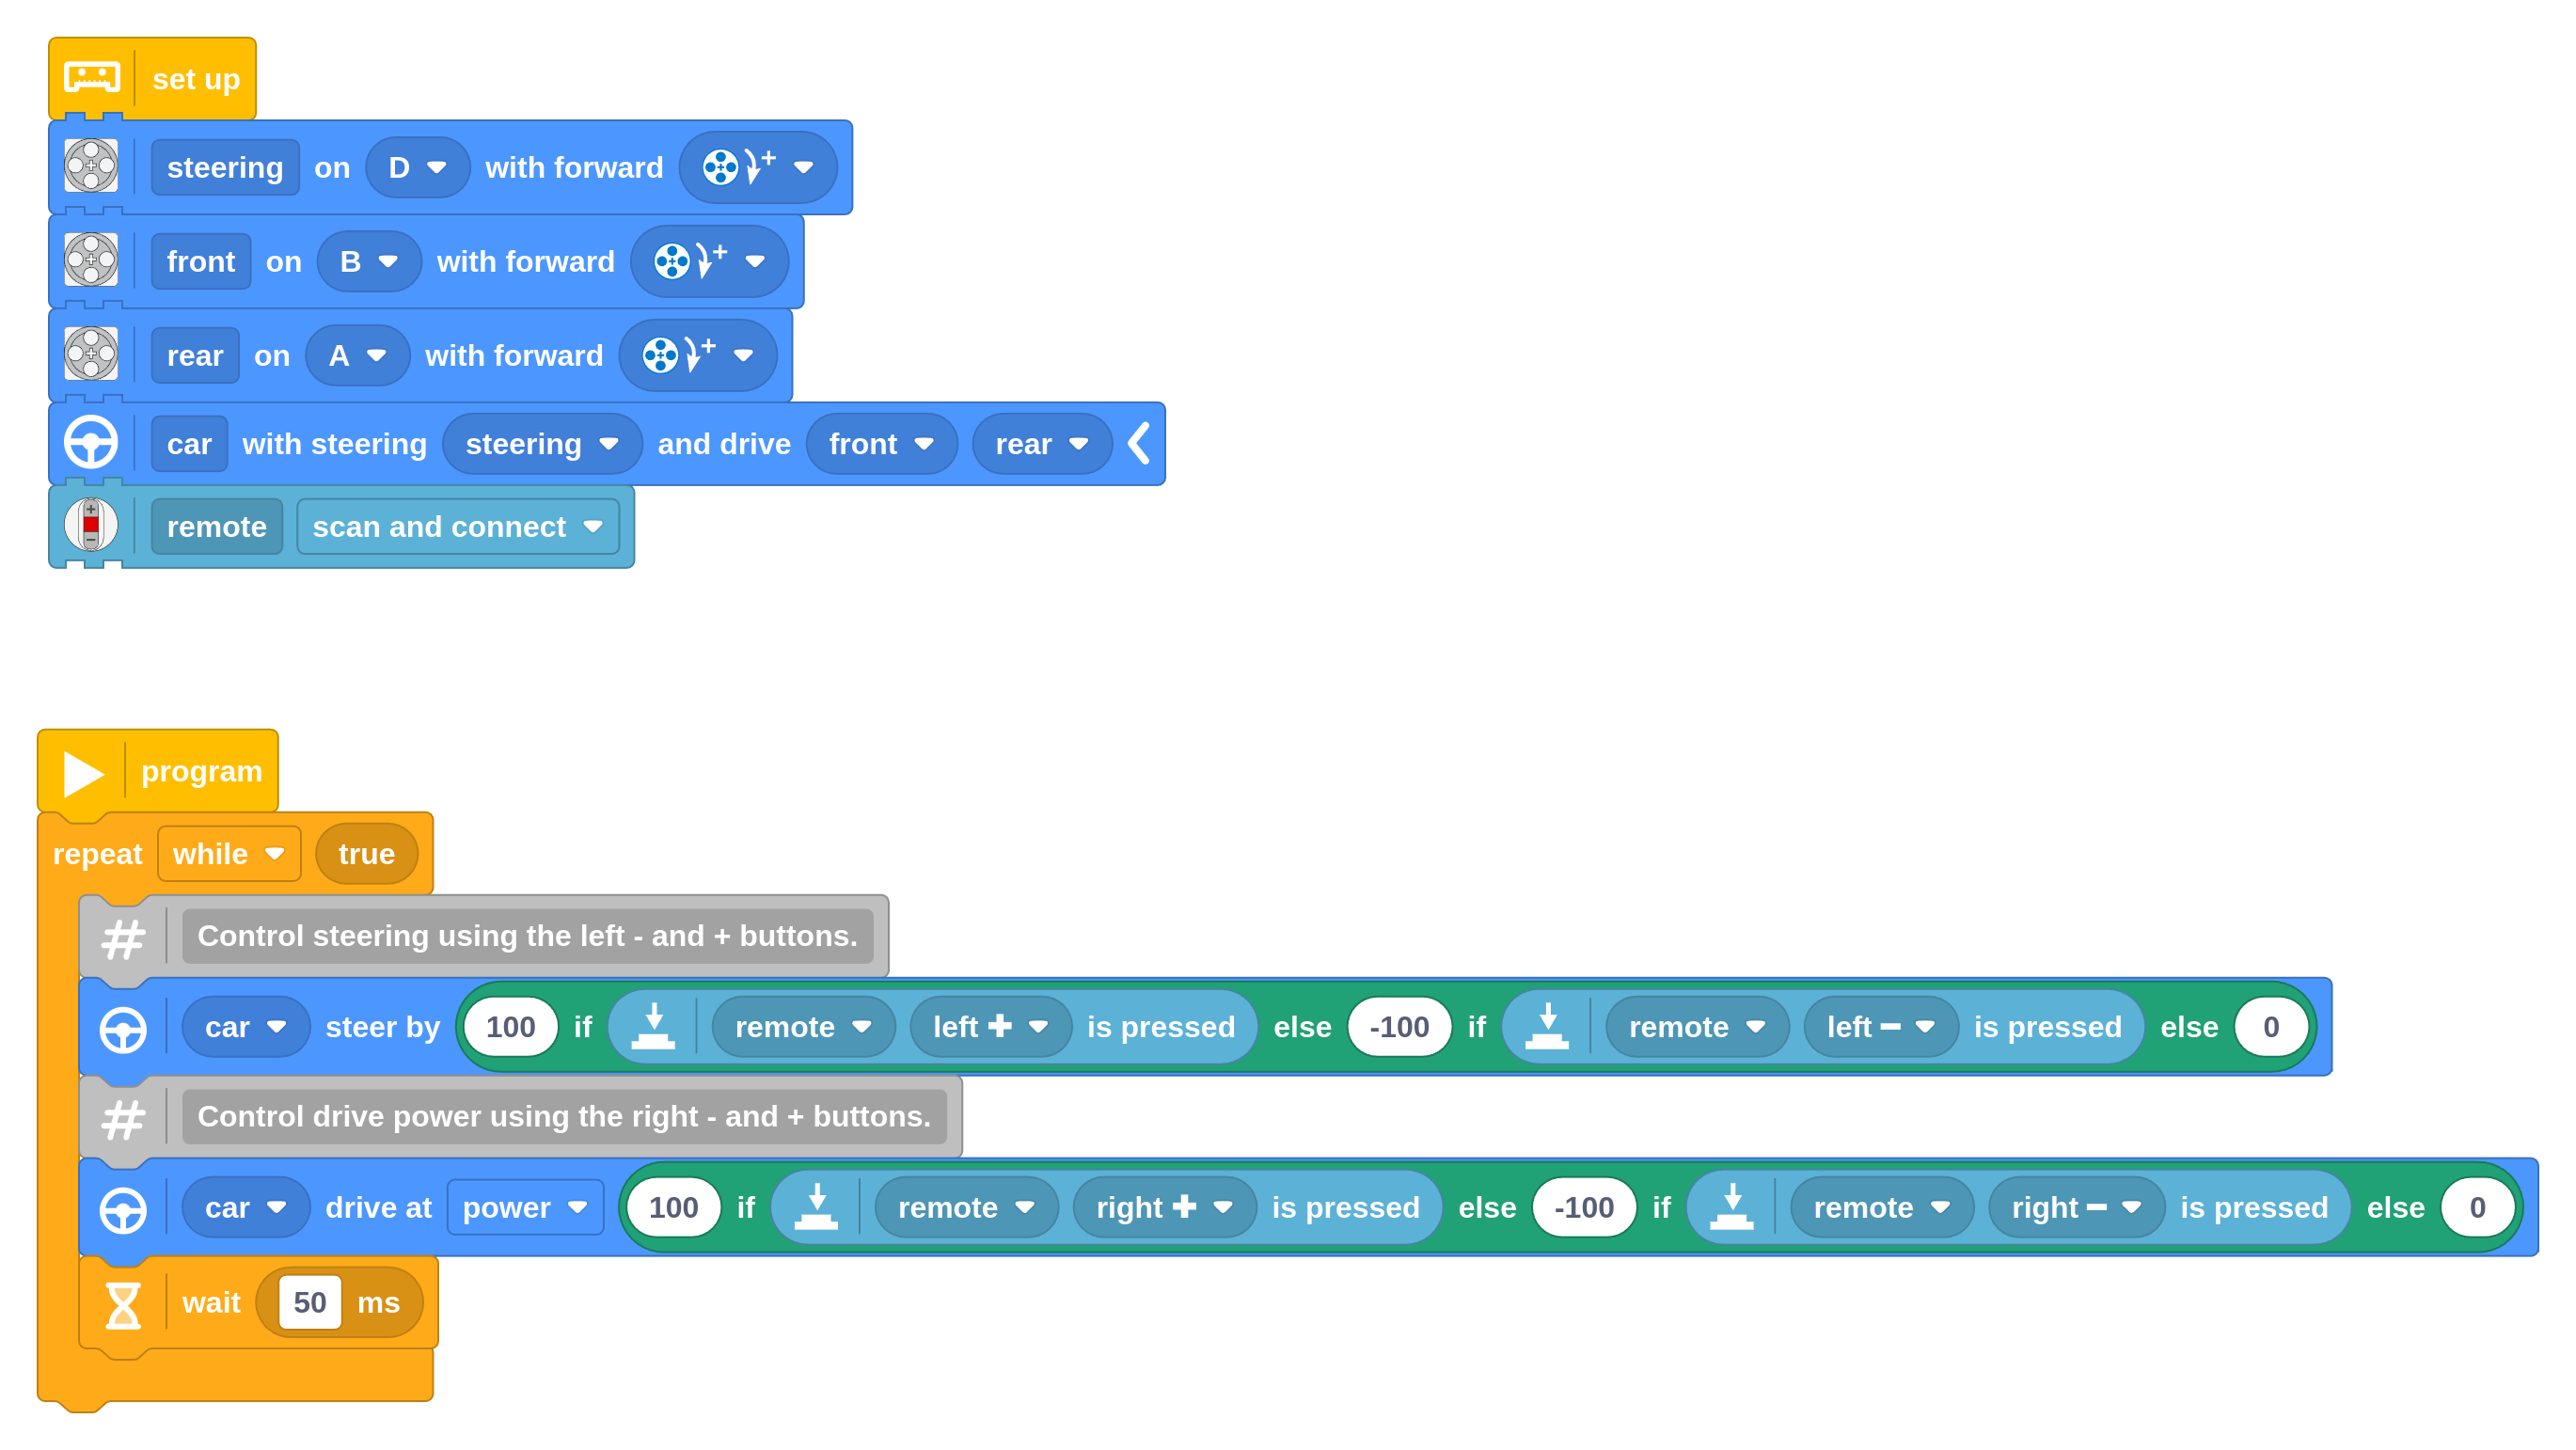
The car setup block takes care of centering the steering motor and makes it easy to drive later on. Finally, we add the setup block for the Powered Up remote.
The main program is quite simple. There is an infinite loop that sets the steering and drive power based on the buttons you press. It uses the ternary block to set the steering to:
- 100% when you press the left + button,
- otherwise to -100% when you press the left - button,
- otherwise to 0%
Similarly, it sets the drive power to:
- 100% when you press the right + button,
- otherwise to -100% when you press the right - button,
- otherwise to 0%
You could achieve the same effect using conventional if-else blocks. The ternary block makes the code more compact and easier to read.
Running the Pybricks program
This project uses Pybricks on your LEGO hub. Pybricks makes your creations come alive and helps you unlock the full potential of your LEGO Technic, City, MINDSTORMS, BOOST, or Spike sets.
If you haven’t already, install Pybricks on your hub as shown below, or check out our getting started guide for more details. You can go back to the LEGO firmware and apps at any time.

Now import the program you downloaded earlier, as shown below. Click to connect your hub and ▶ to start!

You can run imported block programs even if you’re not signed up. This is a great way to try out Pybricks and see how it works.
The car in action
When you’re ready, you can drive the car as shown below. Make sure to turn on the remote when you start the car program, so that the hub can find it.
Running it as a Python program
You can also run this project as a Python (MicroPython) program. The following code was generated from the block program above. To run it, create a new empty Python program in Pybricks and copy the code into it.
from pybricks.parameters import Button, Direction, Port
from pybricks.pupdevices import Motor, Remote
from pybricks.robotics import Car
from pybricks.tools import wait

# Set up all devices.
steering = Motor(Port.D, Direction.CLOCKWISE)
front = Motor(Port.B, Direction.CLOCKWISE)
rear = Motor(Port.A, Direction.CLOCKWISE)
car = Car(steering, [front, rear])
remote = Remote(timeout=None)


# The main program starts here.
while True:
    # Control steering using the left - and + buttons.
    car.steer(100 if Button.LEFT_PLUS in remote.buttons.pressed() else (-100 if Button.LEFT_MINUS in remote.buttons.pressed() else 0))
    # Control drive power using the right - and + buttons.
    car.drive_power(100 if Button.RIGHT_PLUS in remote.buttons.pressed() else (-100 if Button.RIGHT_MINUS in remote.buttons.pressed() else 0))
    wait(50)

