Driving the LEGO® Technic 4x4 Mercedes-Benz Zetros Trial Truck (42129) with the Xbox Controller
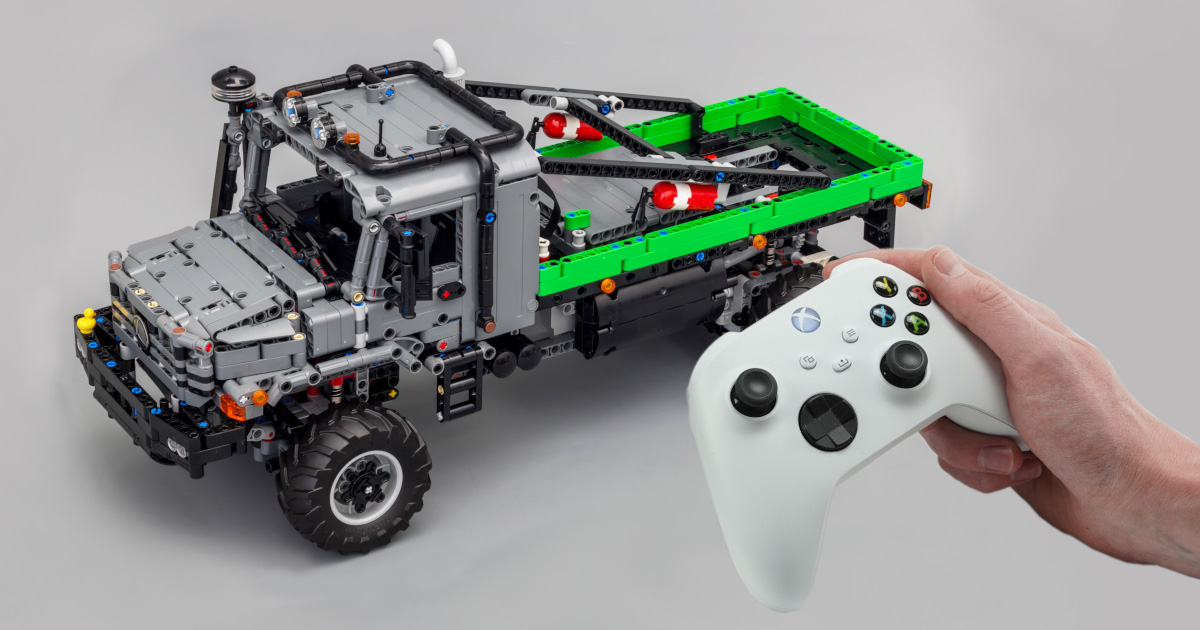
In this project, we will show you how to control the LEGO® Technic 4x4 Mercedes-Benz Zetros Trial Truck (42129) with the Xbox Controller.
This is a fun way to drive the truck around without having to look at your phone screen all time time. You can also use this setup to create your own remote-controlled cars with Pybricks.
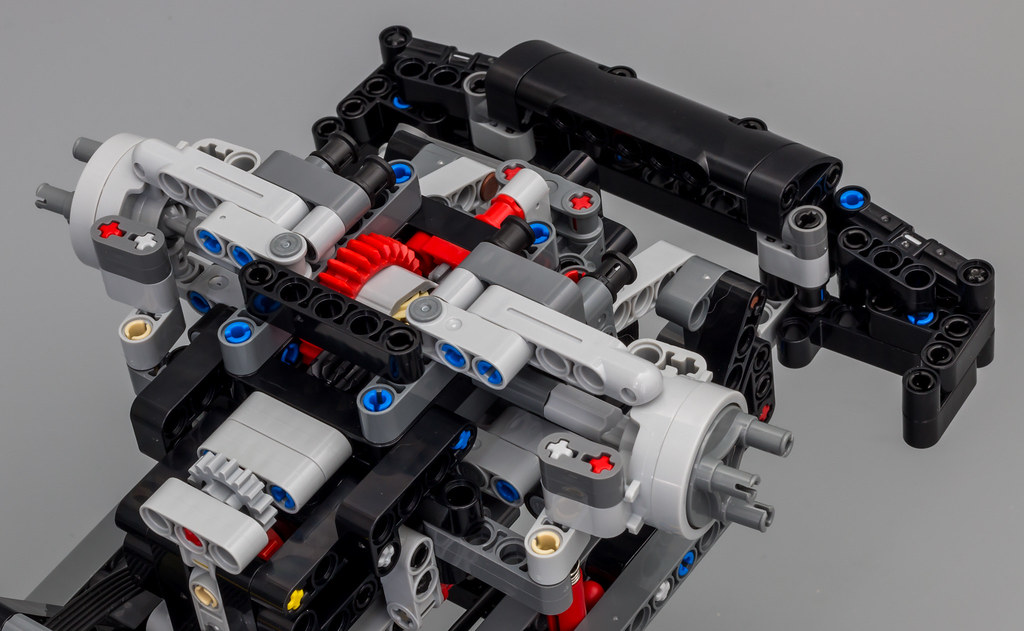
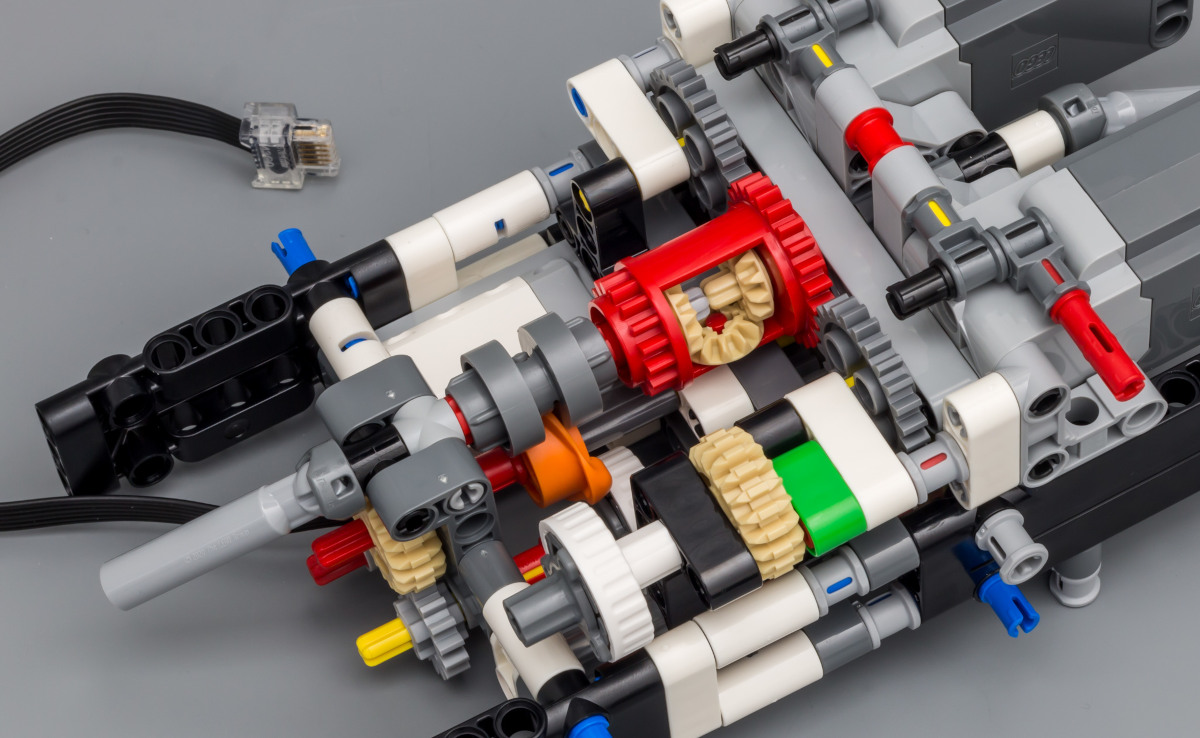
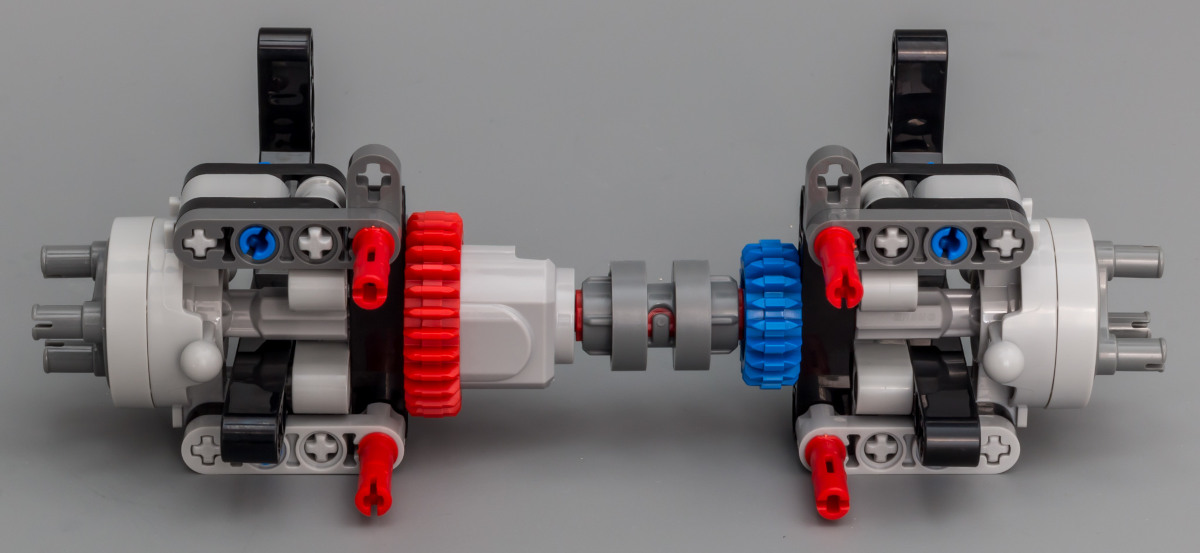
You’ll also use the controller to lock and unlock the differentials.
Requirements
To follow this project, you will need the following:
See this overview for all compatible models.
Understanding the code
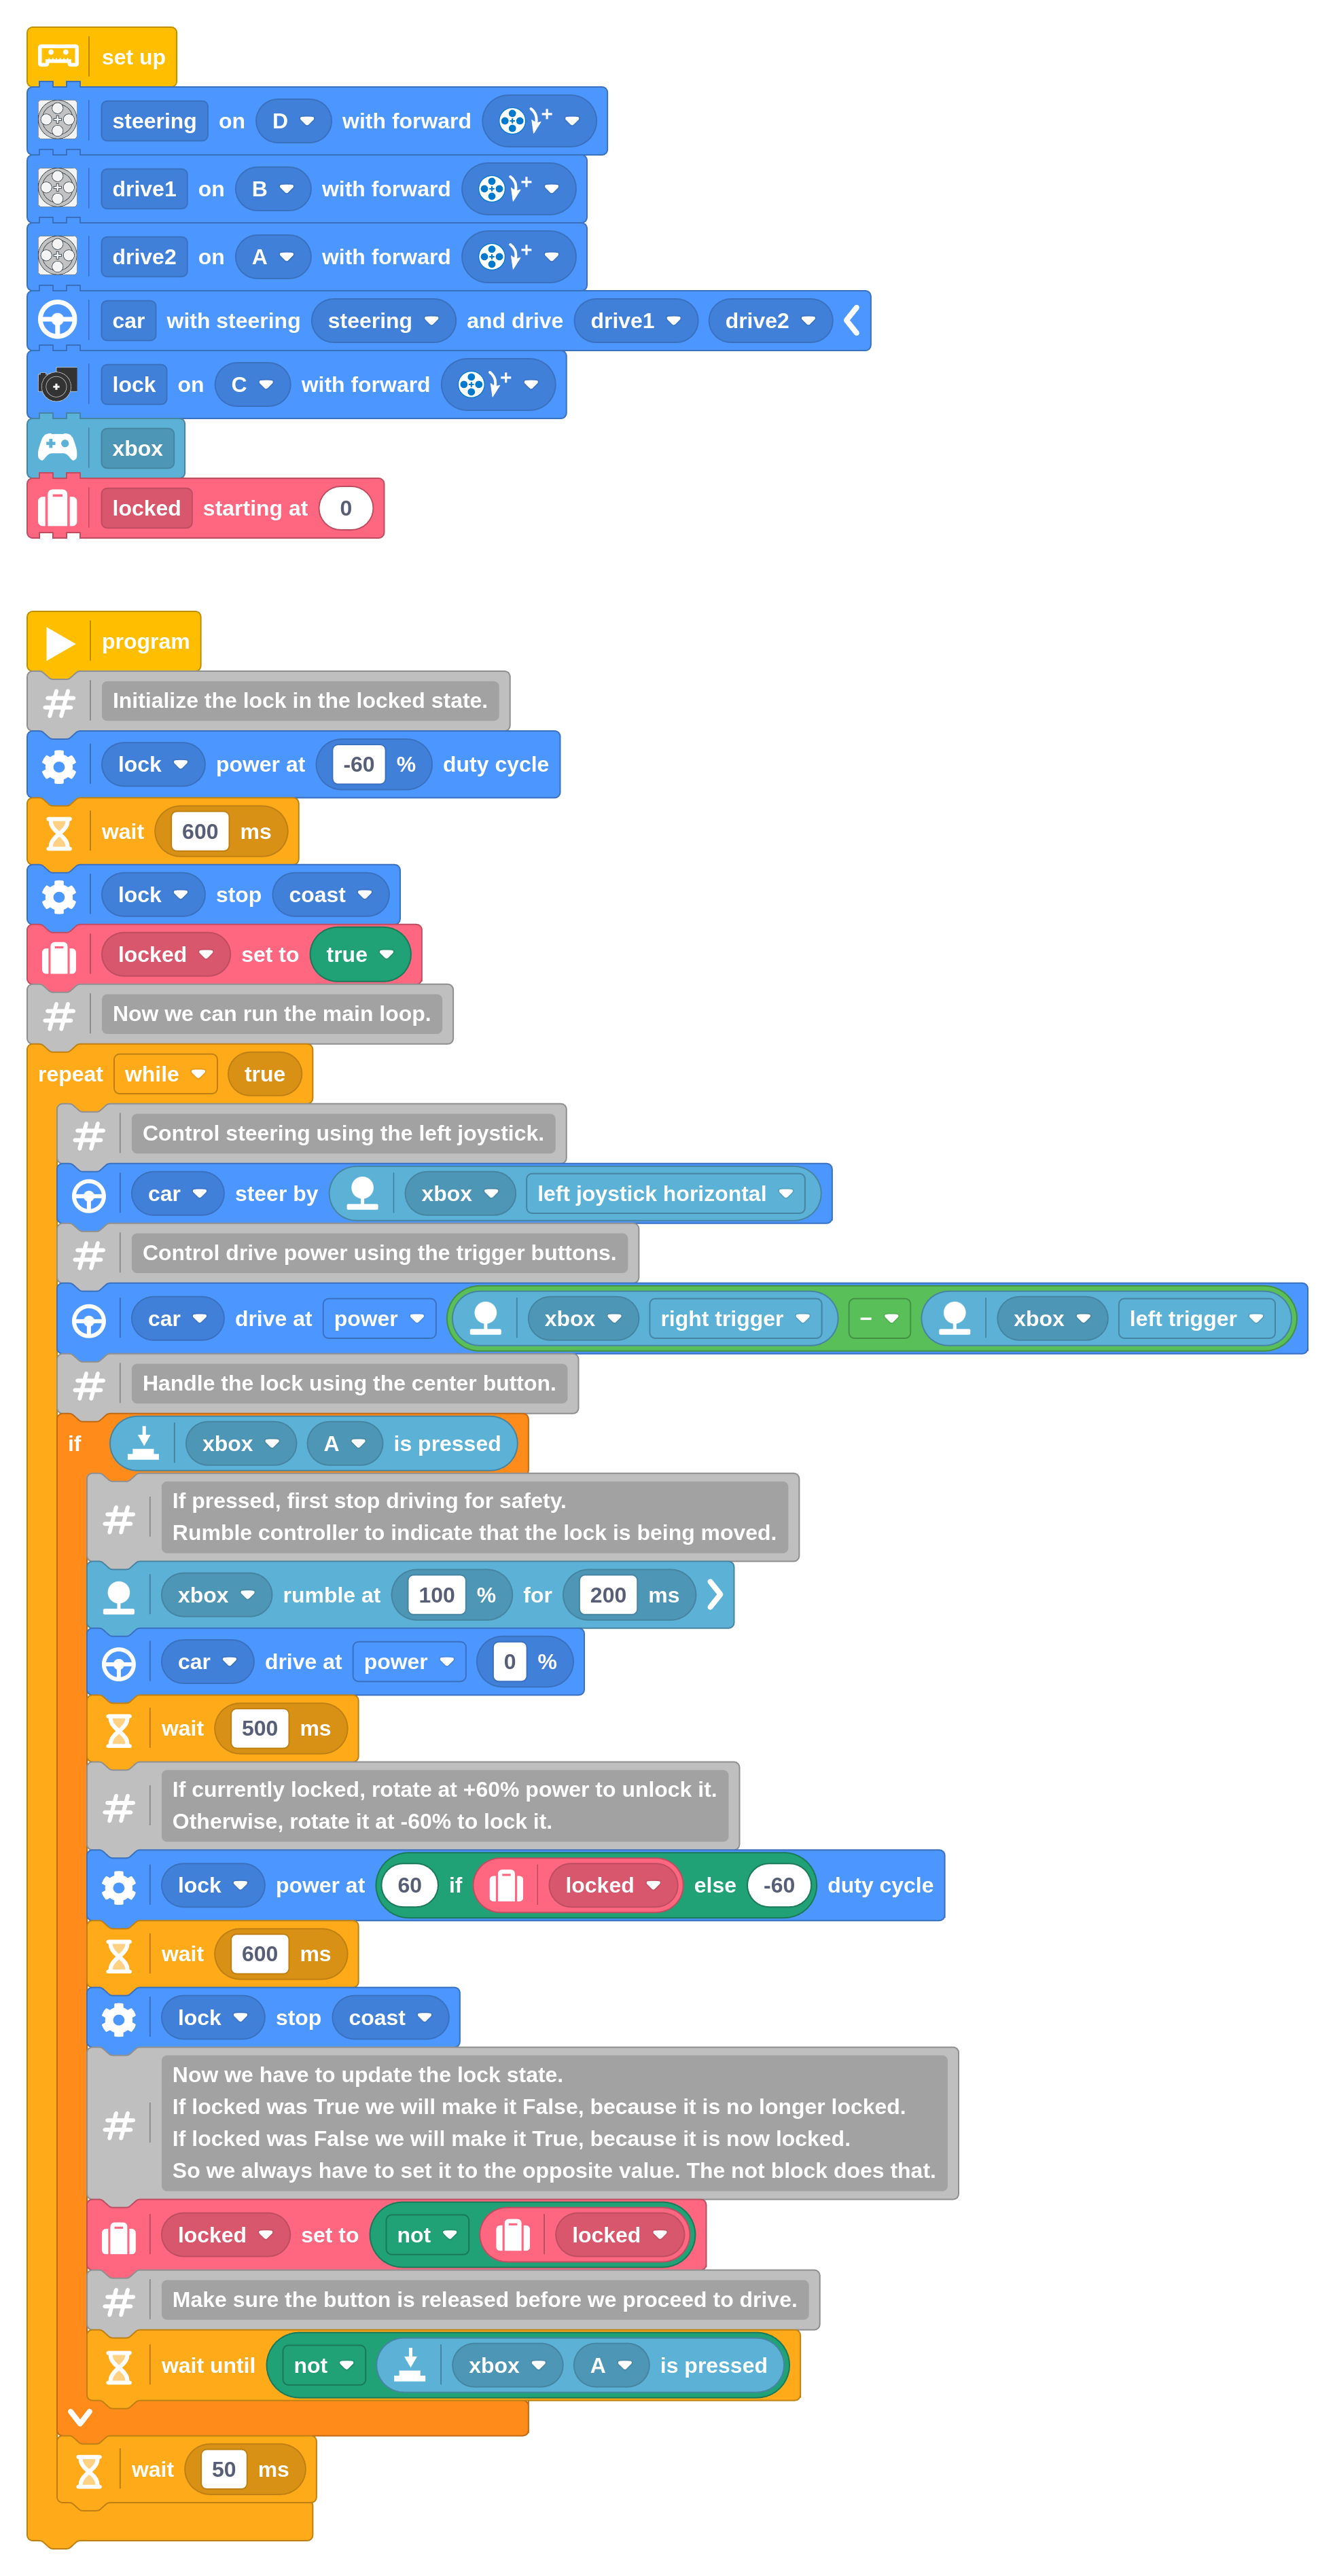
This Technic truck drive motors on Ports A and B and has one steering motor on Port D. It also has a DC Motor on Port C that controls the locking mechanism for the differentials. The program starts by setting up these motors accordingly.
Driving and steering
The car setup block takes care of centering the steering motor and makes it easy to drive later on. Finally, we add the setup block for the Xbox Controller.
The main program is quite simple. There is an infinite loop that sets the steering and drive power based on the analog inputs.
Steering (-100% to 100%) is controlled with the left horizontal stick. The drive power is controlled with the right trigger minus the left trigger. This ranges the power level from -100% (reverse) if the left trigger is fully pressed, all the way to 100% (forward) if the right trigger is pressed.
Locking and unlocking the differentials
The A button of the controller is used to lock and unlock the differentials. When the differentials are locked, the truck will have better traction on rough terrain. When they are unlocked, the truck can make tighter turns.
The locking mechanism is controlled by a DC Motor on Port C. Running it clockwise unlocks the differentials, and running it counterclockwise locks them.
Since this motor does not have position sensors, we use a variable to store the current state of the differentials. The comments throughout the program explain how this works.
Running the Pybricks program
This project uses Pybricks on your LEGO hub. Pybricks makes your creations come alive and helps you unlock the full potential of your LEGO Technic, City, MINDSTORMS, BOOST, or Spike sets.
If you haven’t already, install Pybricks on your hub as shown below, or check out our getting started guide for more details. You can go back to the LEGO firmware and apps at any time.

Now import the program you downloaded earlier, as shown below. Click to connect your hub and ▶ to start!

You can run imported block programs even if you’re not signed up. This is a great way to try out Pybricks and see how it works.
Pairing with the Xbox Controller
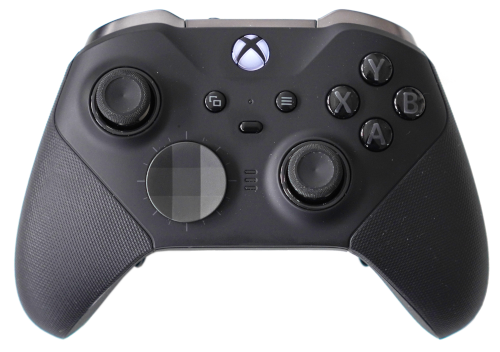
The very first time, you’ll need to pair the hub with your controller:
- Turn the controller on.
- Press and hold the pairing button on the back.
- Release after a few seconds. The controller light will start flashing more rapidly. This is pairing mode.
- Then start your program. Either using the Pybricks app, or using the green button on the hub if you’ve already loaded the program earlier.
The hub will start looking for your controller when the program starts. When the connection is successful, the controller light will stop flashing and stay on for as long as the program is running.
You can see this in the video below.
Connecting without pairing
The next time you use it, pairing is not required. Just turn the controller on. The hub will connect to it automatically when your program runs.
The Xbox controller remembers only one device. If you use the controller with another LEGO hub or your Xbox console, and then with this hub again, you’ll need to pair them again as above.
Updating the Xbox Controller
If you often use the Xbox Controller with your console, it is probably already up to date. If you have not used it for a while or if you bought one recently, you may need to update it.
To update the controller without a console, you can use the Xbox Accessories app on a Windows computer. Connect the controller via USB to the computer and follow the instructions in the app to click on “Update now”. If it is already at firmware version 5.17 or later, you don’t need to do anything.
Technic Hub limitations
Once you start your program, the Technic Hub will disconnect from your computer to free up the connection for the Xbox Controller. This means you can’t use the Pybricks app to stop the program or change the code while the Xbox Controller is connected.
To change your program, stop the program by pressing the green button on the hub. Then you can connect to the hub with the Pybricks app again, and change your program as needed.
The truck in action
Operating the differentials with the Xbox controller is similar to operating it with the Powered Up remote, except you press the A button, and it rumbles instead of changing the light color. Driving can be seen in example videos for other Technic trucks.
Running it as a Python program
You can also run this project as a Python (MicroPython) program. The following code was generated from the block program above. To run it, create a new empty Python program in Pybricks and copy the code into it.
from pybricks.iodevices import XboxController
from pybricks.parameters import Button, Direction, Port
from pybricks.pupdevices import DCMotor, Motor
from pybricks.robotics import Car
from pybricks.tools import wait

# Set up all devices.
steering = Motor(Port.D, Direction.CLOCKWISE)
drive1 = Motor(Port.B, Direction.CLOCKWISE)
drive2 = Motor(Port.A, Direction.CLOCKWISE)
car = Car(steering, [drive1, drive2])
lock = DCMotor(Port.C, Direction.CLOCKWISE)
xbox = XboxController()

# Initialize variables.
locked = 0


# The main program starts here.
# Initialize the lock in the locked state.
lock.dc(-60)
wait(600)
lock.stop()
locked = True
# Now we can run the main loop.
while True:
    # Control steering using the left joystick.
    car.steer(xbox.joystick_left()[0])
    # Control drive power using the trigger buttons.
    car.drive_power(xbox.triggers()[1] - xbox.triggers()[0])
    # Handle the lock using the center button.
    if Button.A in xbox.buttons.pressed():
        # If pressed, first stop driving for safety.
        # Rumble controller to indicate that the lock is being moved.
        xbox.rumble(100, 200)
        car.drive_power(0)
        wait(500)
        # If currently locked, rotate at +60% power to unlock it.
        # Otherwise, rotate it at -60% to lock it.
        lock.dc(60 if locked else -60)
        wait(600)
        lock.stop()
        # Now we have to update the lock state.
        # If locked was True we will make it False, because it is no longer locked.
        # If locked was False we will make it True, because it is now locked.
        # So we always have to set it to the opposite value. The not block does that.
        locked = not locked
        # Make sure the button is released before we proceed to drive.
        while Button.A in xbox.buttons.pressed():
            wait(1)
    wait(50)
More about the Zetros Trial Truck
The photographs in this article were contributed by Jim van Gulik. Used with permission. For more great pictures of this set and details of its intricate mechanics, check out Jim’s review over at Eurobricks.

